How to Create or Import Temple Wallet with Google
This step-by-step guide is perfect for Temple Wallet users who need to create or import their wallet on a new device or in a fresh Chromium-based browser. The process lets you quickly restore your blockchain wallet using your Google account.
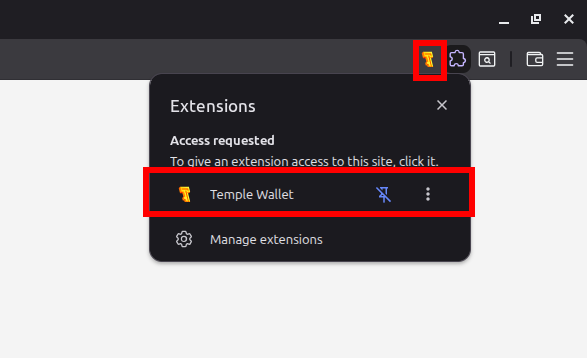
1. Download and launch the Temple Wallet extension on your new device
You can download Temple Wallet from most official browser extension stores. After installation, open it from the Extensions menu or simply click its icon in the toolbar (if you pinned it during setup).
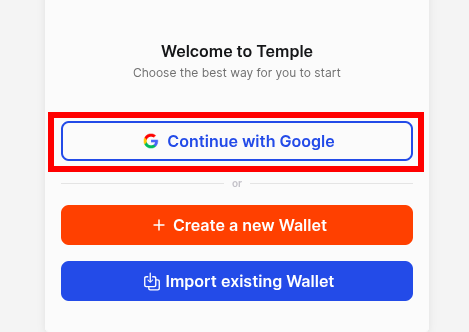
2. On the welcome screen, click Continue with Google
This button starts the Google sign-in flow. The extension will automatically look for a specific folder on your Google Drive that contains your encrypted seed phrase file — a file it already has permission to read.
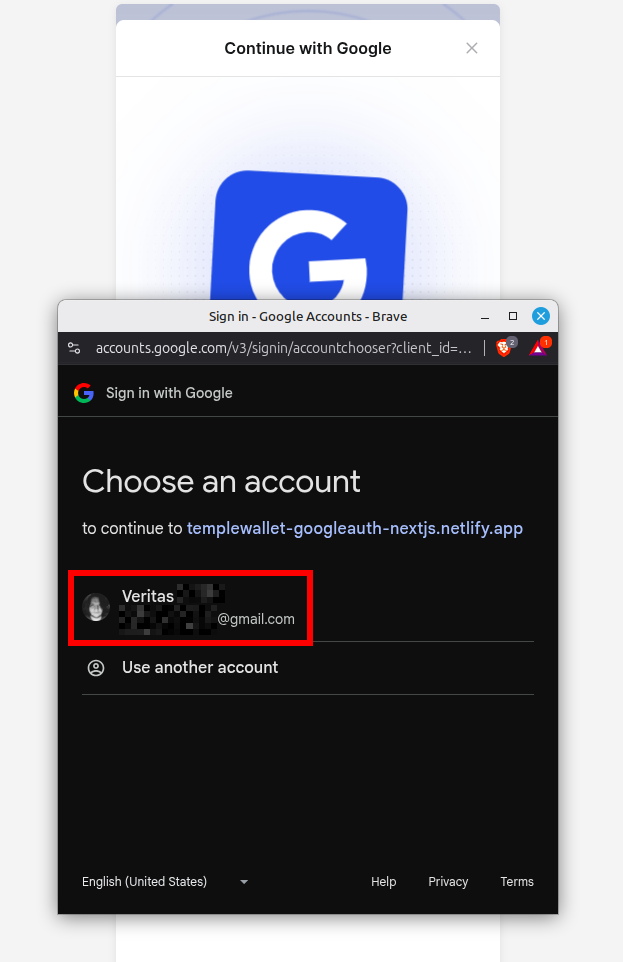
3. Select the Google account you want to use for the import/backup
A new window will open showing all Google accounts signed in to your browser:
- If you’re restoring an existing wallet, choose the account that already has your Temple Wallet backup stored on its Google Drive.
- If you’re creating a completely new wallet, just pick any Google account. The backup will be created automatically right after you set your wallet password.
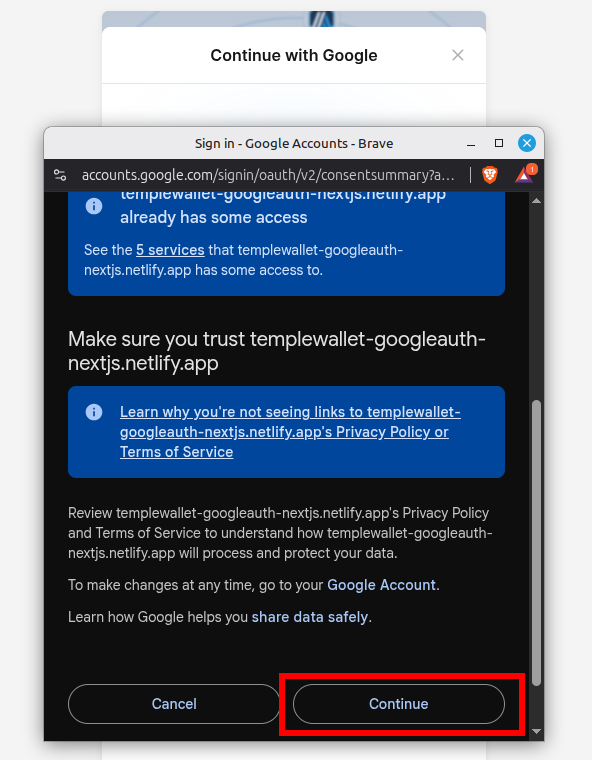
4. Wait while Temple Wallet scans Google Drive for the backup folder
You’ll see a couple of Google permission screens — just click Continue on both to finish authorization.
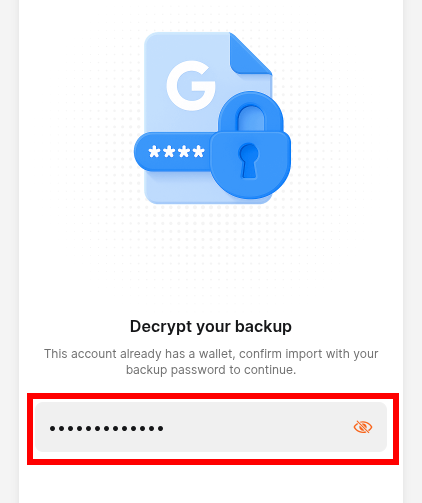
5. Enter the wallet password you created when you first set up the wallet, or set a new password for your brand-new wallet
This password decrypts the seed phrase stored on Google Drive. Once decrypted, the clean seed phrase will be used to restore your wallet on-chain.
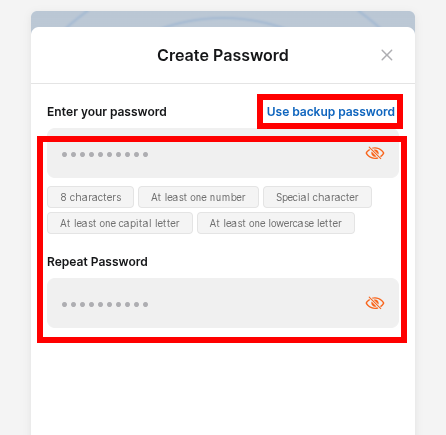
6. Сreate a new password if you want – or click Use backup password to keep the old one
This step only appears when restoring an existing wallet. It’s up to you — a new, easier-to-remember password will make future logins (e.g., when the wallet is locked) much smoother.
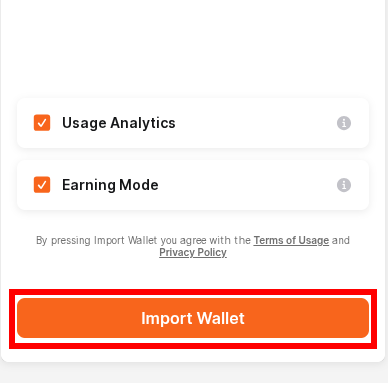
7. Click Import Wallet
That’s it! Right after clicking Import Wallet, you’ll land on the main dashboard with all your funds and full functionality restored.
Conclusion
By following these simple steps, you’ve successfully restored your Temple Wallet using nothing more than your Google account – no need to dig up a written-down seed phrase or worry about losing access when switching devices or browsers.
Being able to recover a wallet quickly and securely is one of the reasons Temple Wallet stands out in the Tezos ecosystem (and beyond). The Google Drive backup option combines rock-solid encryption with real everyday convenience, so you’re never more than a few clicks away from your assets — even if your computer crashes or you move to a new machine. Fast, private, non-custodial, and genuinely user-friendly — that’s Temple Wallet at its best. Enjoy your restored wallet and happy DeFi!