How to swap tokens on IguanaDEX
Learn how to easily swap tokens on the IguanaDEX decentralized exchange using your multichain Temple Wallet. This step-by-step guide walks you through connecting your wallet, selecting tokens (e.g., XTZ to USDC), and confirming your transaction for a seamless crypto trading experience.

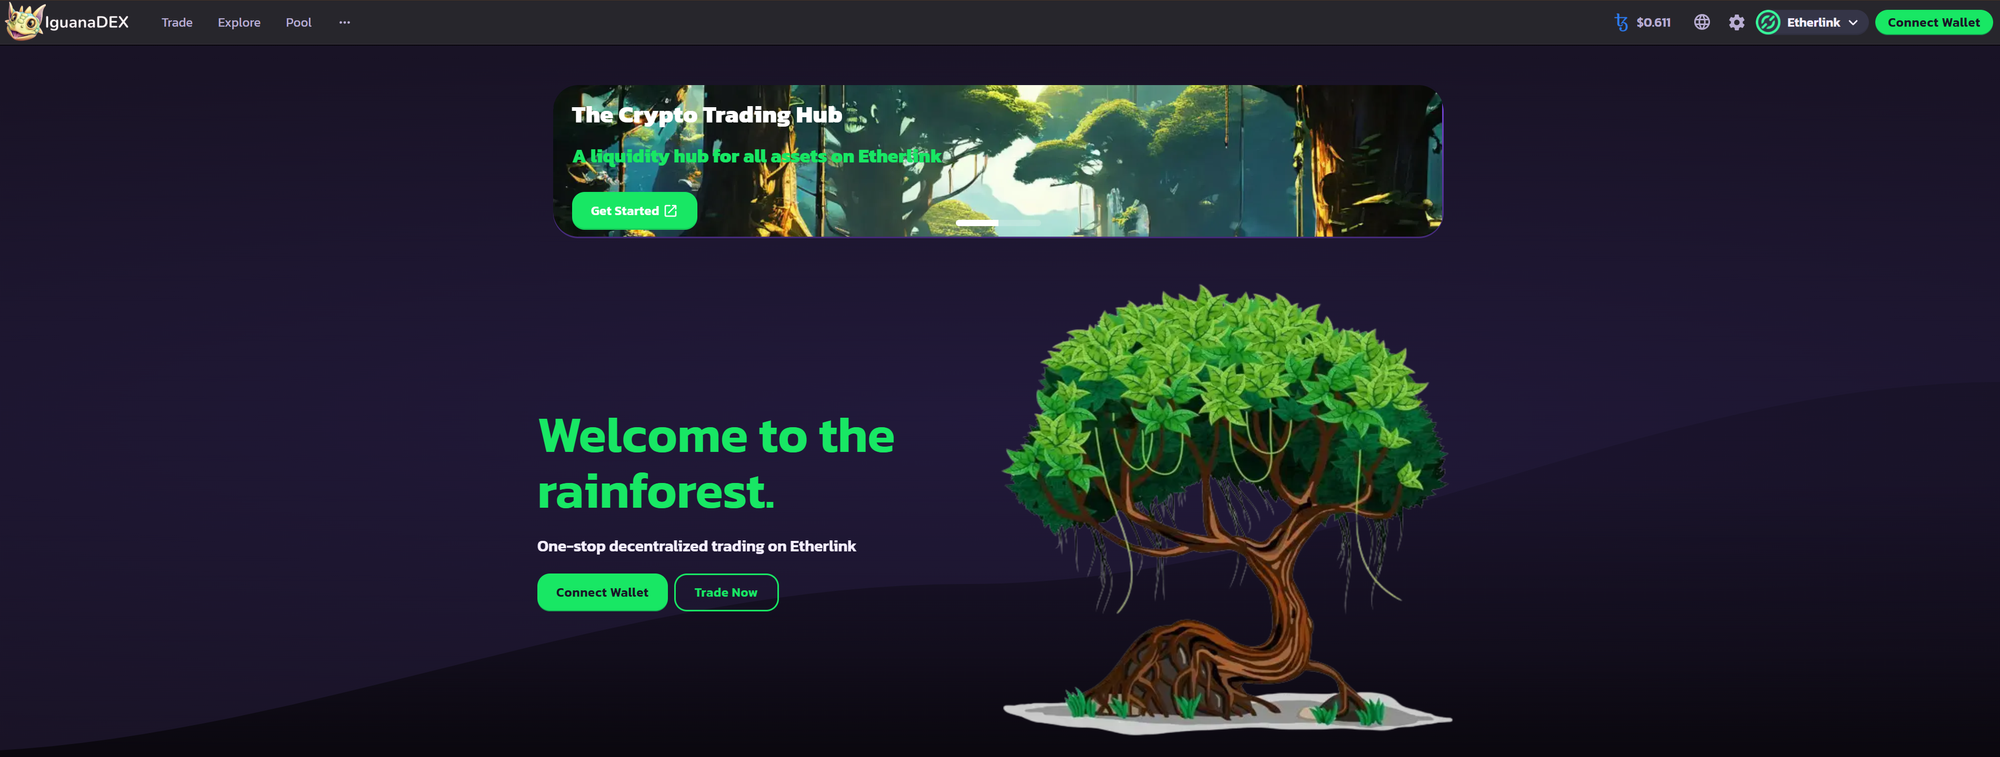
1. Open the IguanaDEX website
Open the official IguanaDEX website using this link: https://www.iguanadex.com/
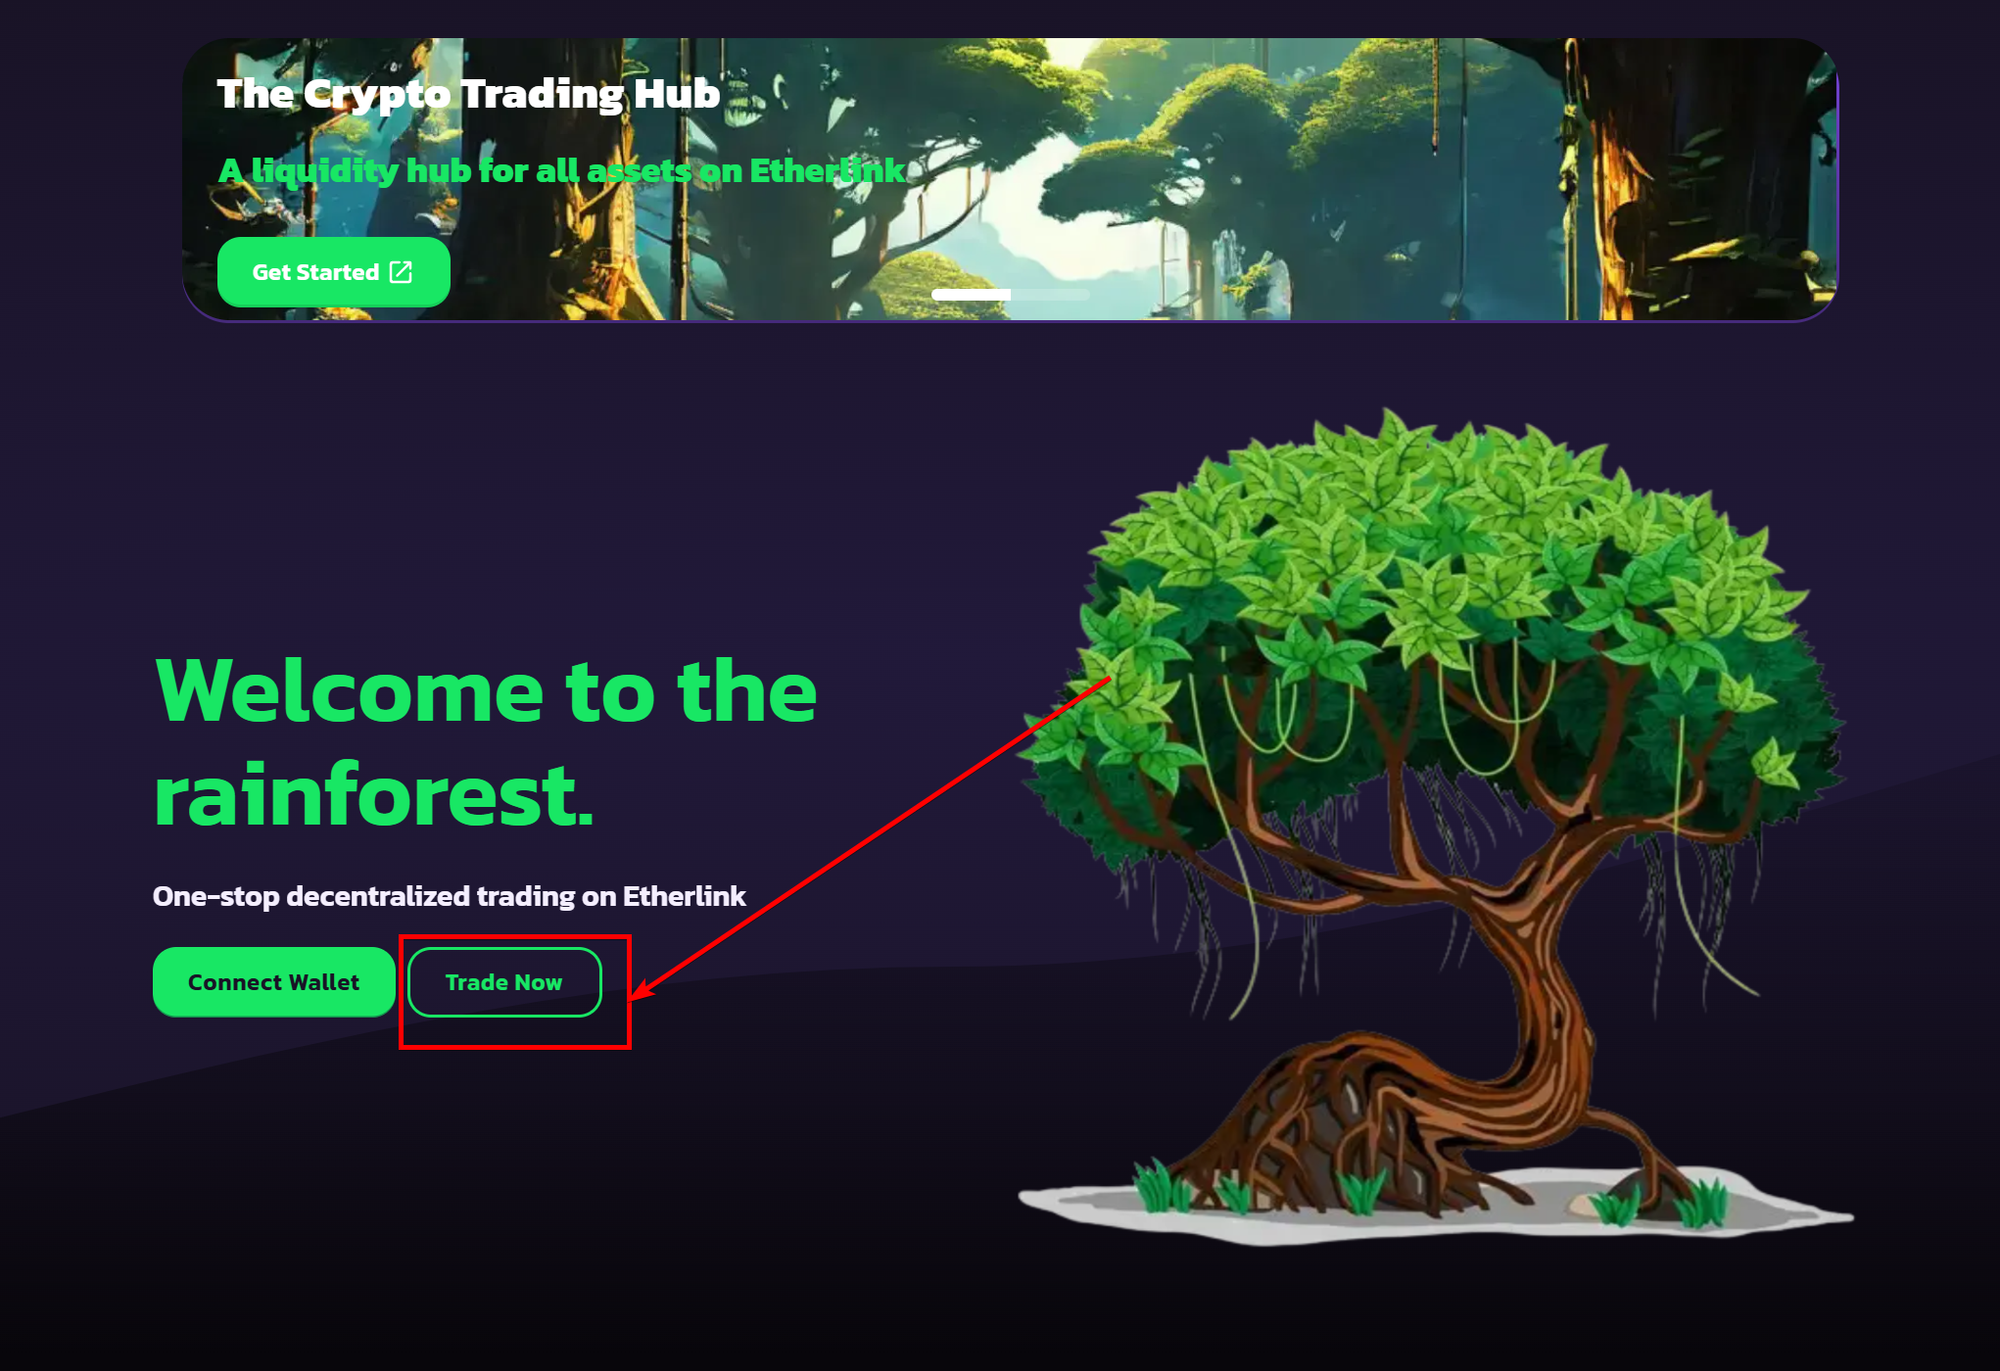
2. Open the Swap page
Click on the Trade Now button to open the Swap page of IguanaDEX. For next time, you can immediately open the Swap page using this link: https://www.iguanadex.com/swap?chain=etherlink
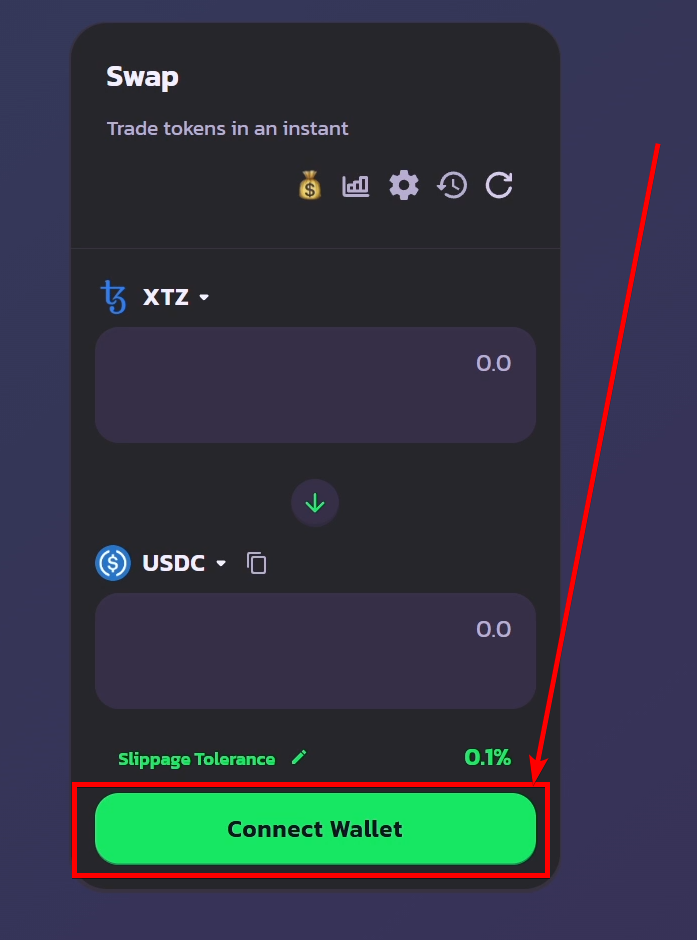
4. Click on the Connect Wallet button
Click on the Connect Wallet button, which is located under the swap window in the middle of the page.
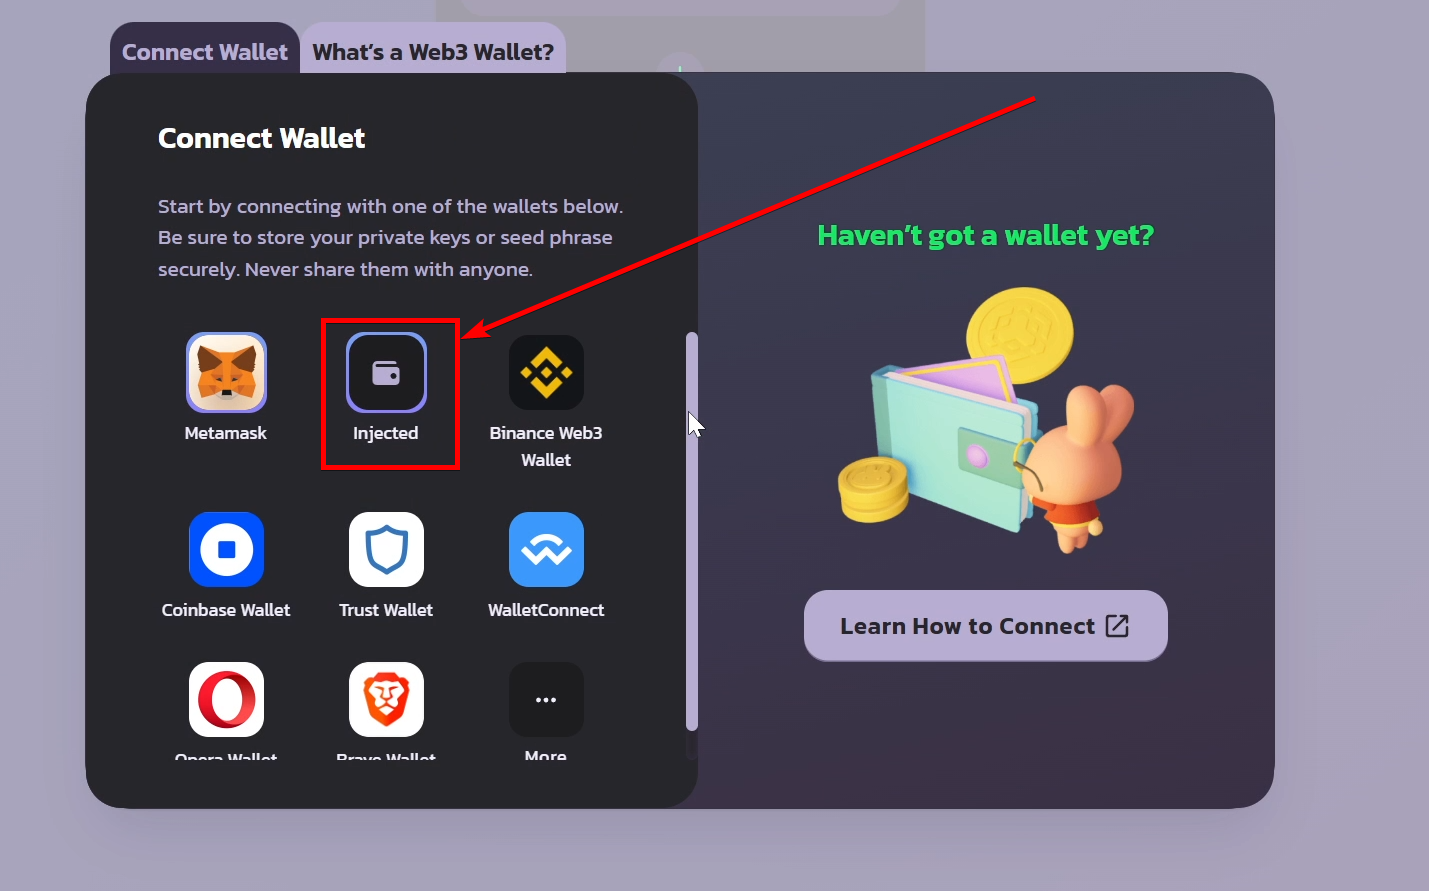
5. Choose Temple Wallet
In the opened Connect Wallet menu, click on the Temple Wallet or Injected (if using beta) to connect your wallet.
If you don't have a wallet that supports Etherlink, click here to install Temple Wallet.
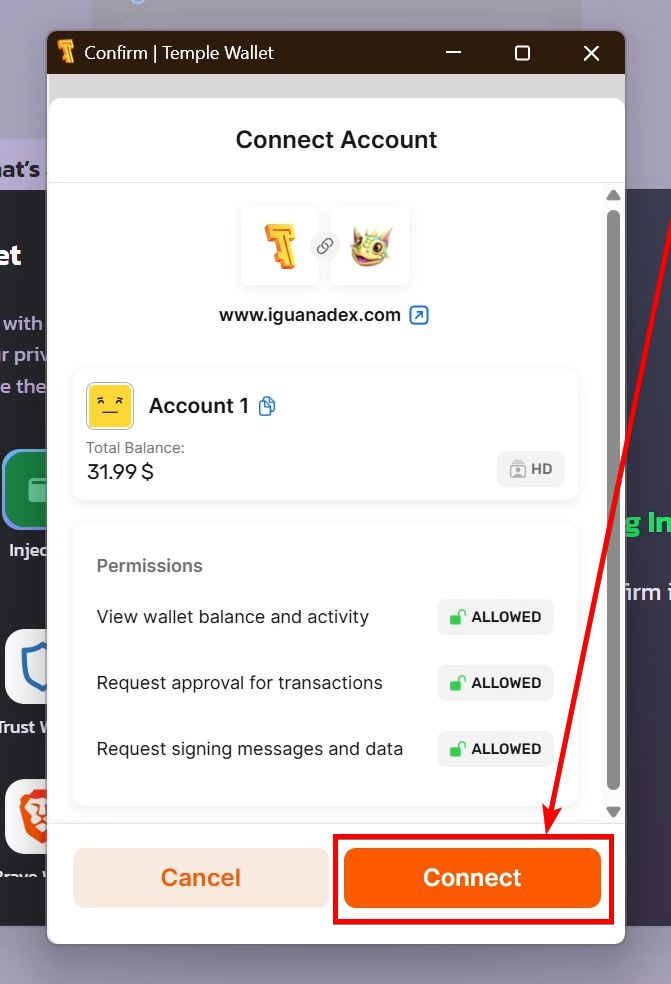
6. Click on the Connect button
After the Temple Wallet pop-up window opens, click on the Connect button to connect your Temple Wallet to the IguanaDEX dApp.
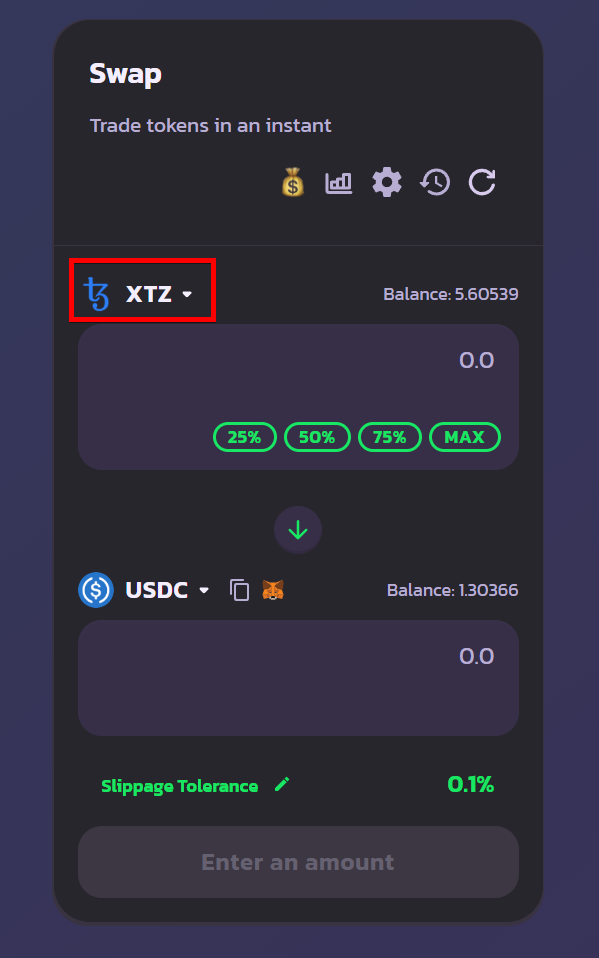
7. Choose the input Token
By default, the XTZ to USDC swap will appear. If you want to change the input token from XTZ to another, click on the XTZ to open the selection menu with available tokens.
For our example, we will leave the XTZ token.
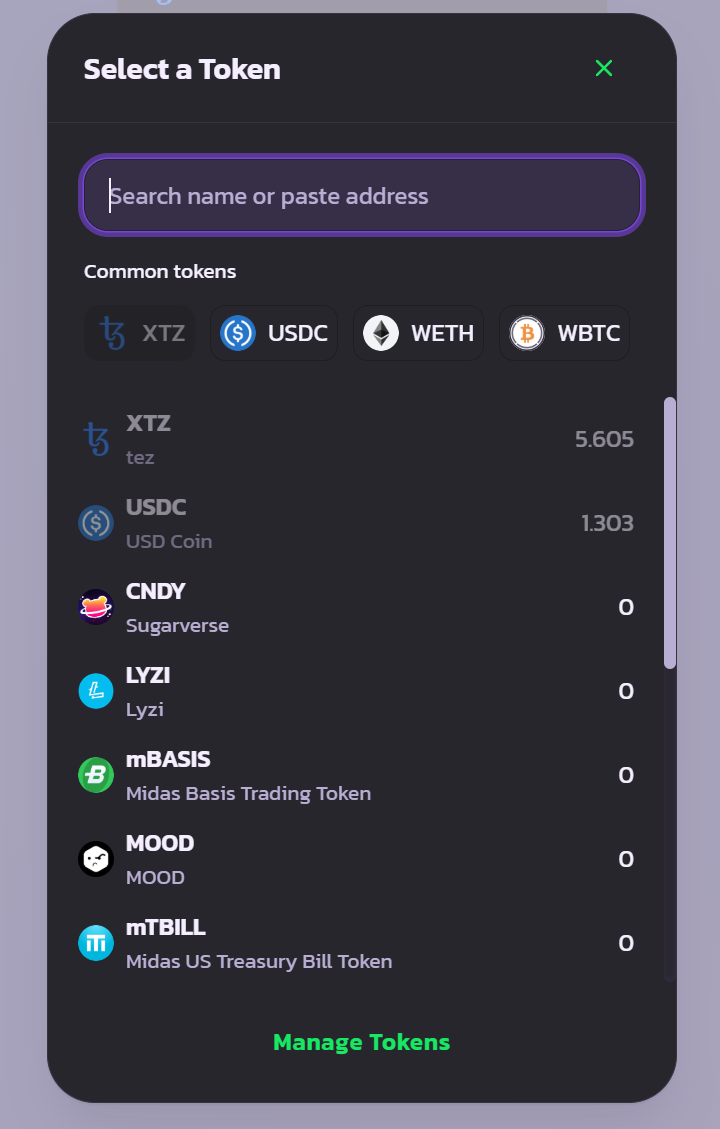
The input Token selection process
8. Choose the output Token
If you want to change the output token from USDC to another, click on the USDC to open the selection menu with available tokens.
For our example, we will leave the USDC token.
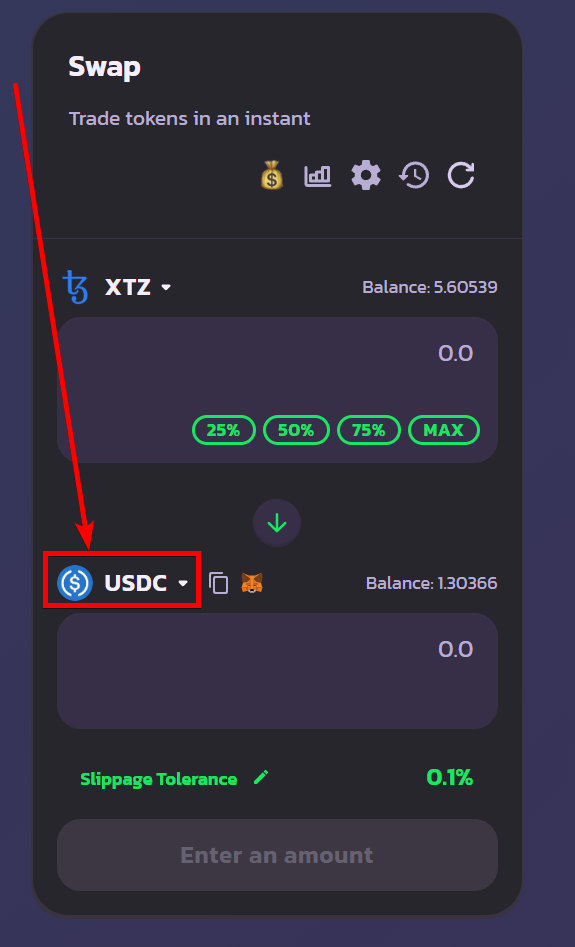

The output Token selection process
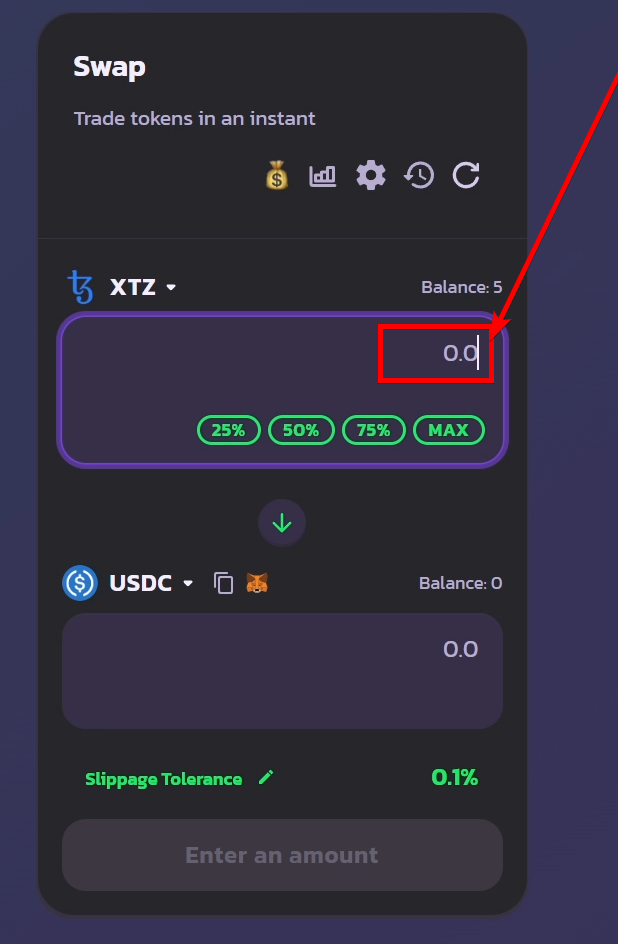
9. Input the amount of tokens
Click on the input field in the token on the top and input the amount of the selected token that you want to swap to your output token. After you have typed in the input token amount, the output token amount will be calculated automatically.
If you want to swap the maximum available amount of tokens, click on the Max button.
For our example, we will input 2 XTZ, and the 1.30366 USDC is calculated automatically.
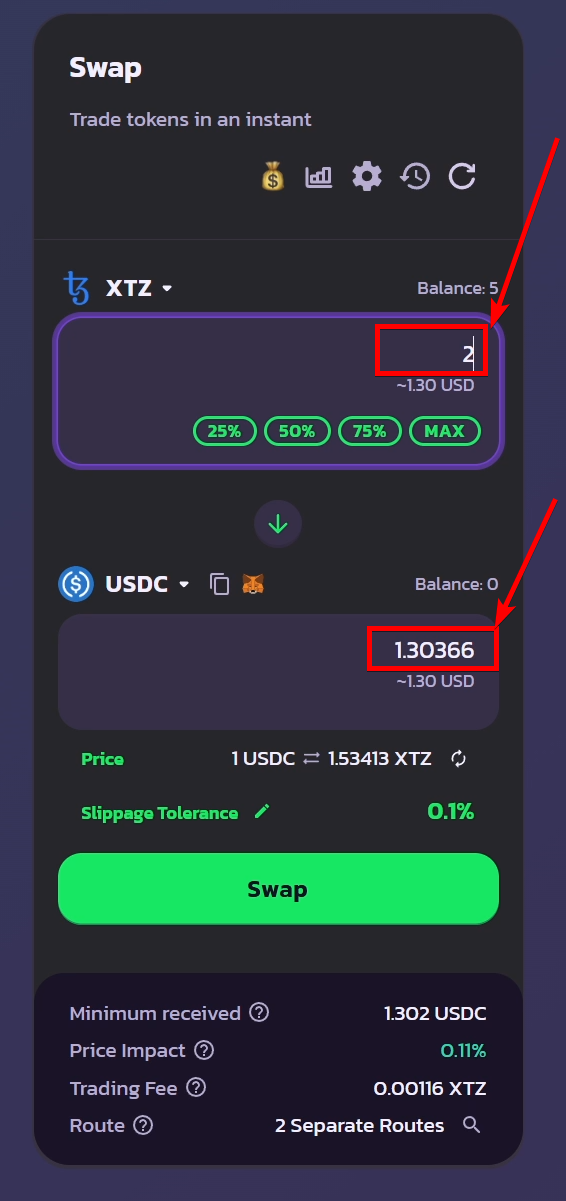
The amount of token selection process
10. Start the Swap process
Click on the Swap button and then on the Confirm Swap button to proceed with your swap transaction.
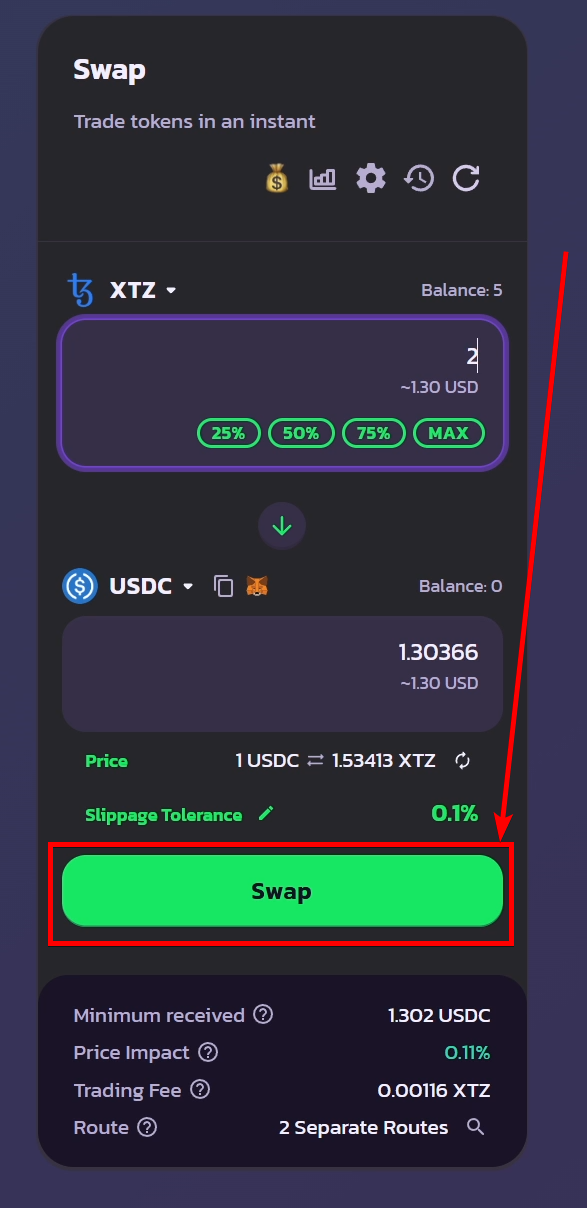
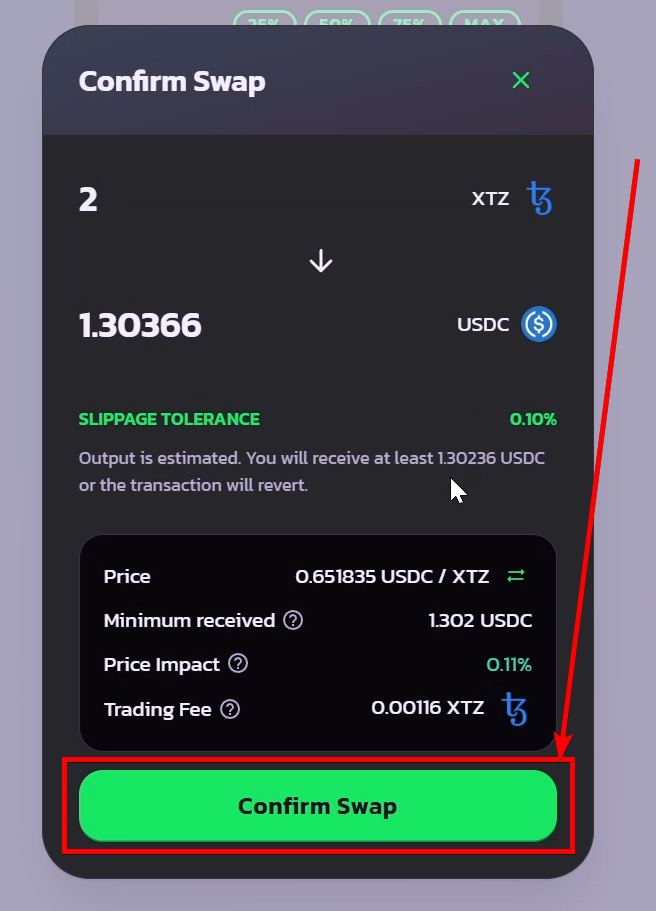
The start of swapping process
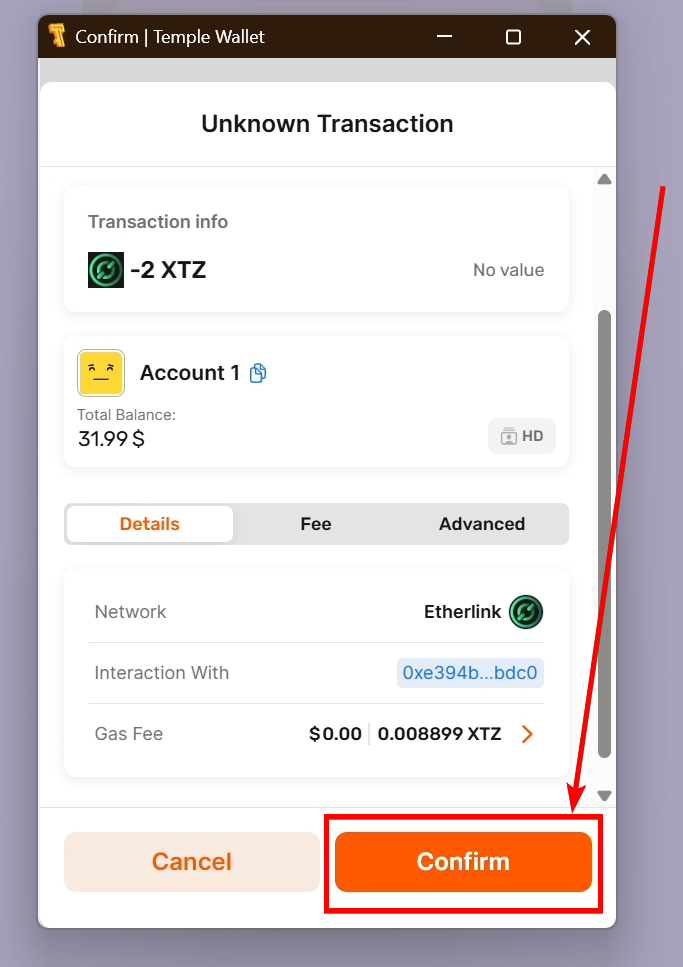
14. Confirm the transaction in the Temple Wallet
Click on the Confirm button in the pop-up menu of the Temple Wallet.
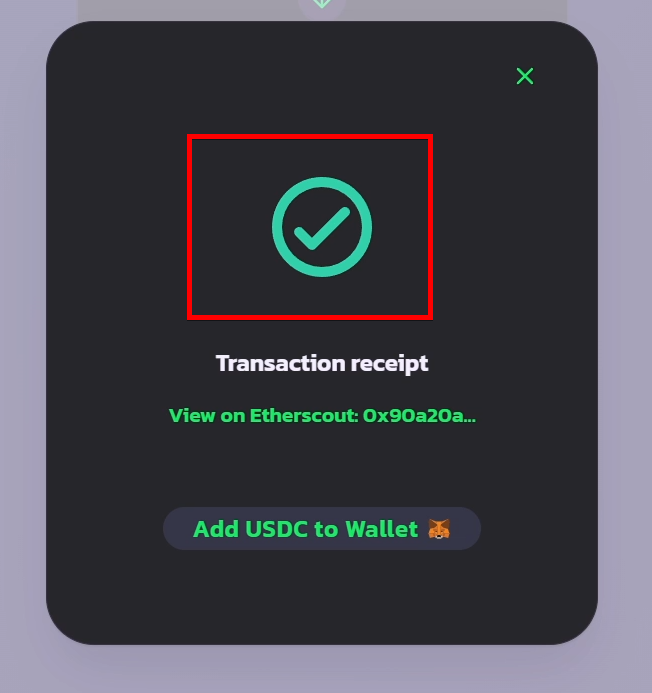
14. Wait for the completion of the swap
Wait until your transaction is confirmed on the Etherlink blockchain. Most of the time, it takes no longer than a couple of seconds.
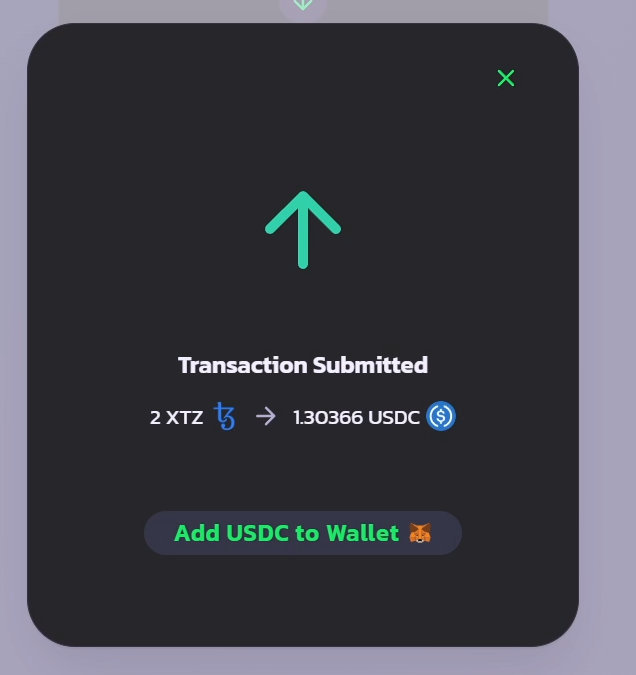
The waiting for the swap confirmation
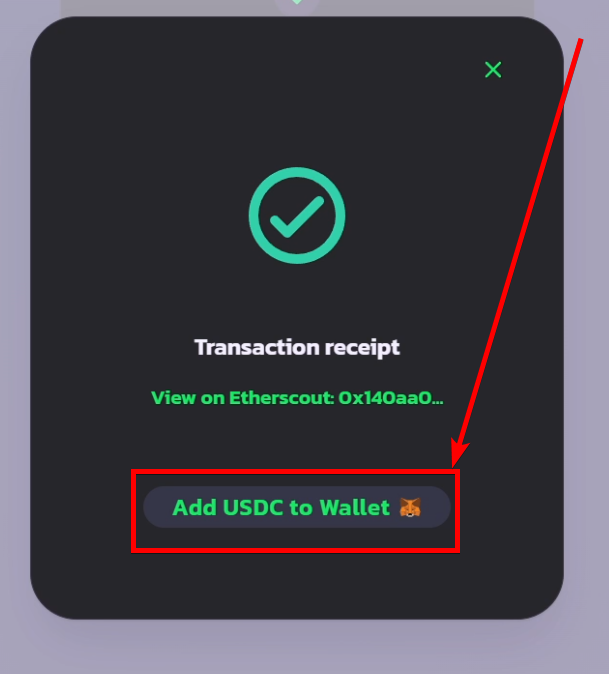
15. Add new tokens to the Temple Wallet
If you are performing your swap for a new token that you have never had, click on the Add USDC to Wallet button. In another way, click on the cross in the top right corner of the confirmed transaction menu to close it.
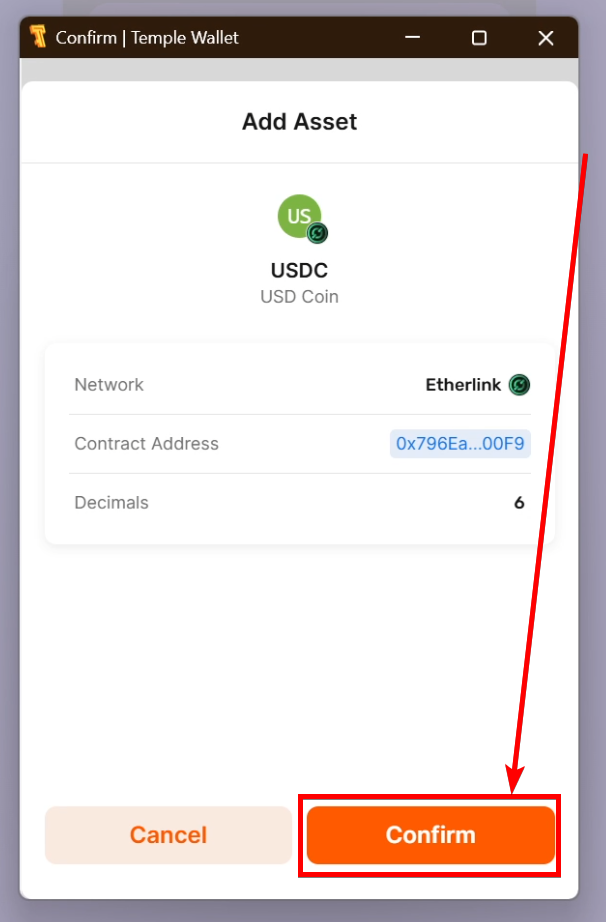
16. Confirm the Token adding in the Temple Wallet
Click on the Confirm button in the pop-up menu of the Temple Wallet to confirm the addition of your new token to the wallet.
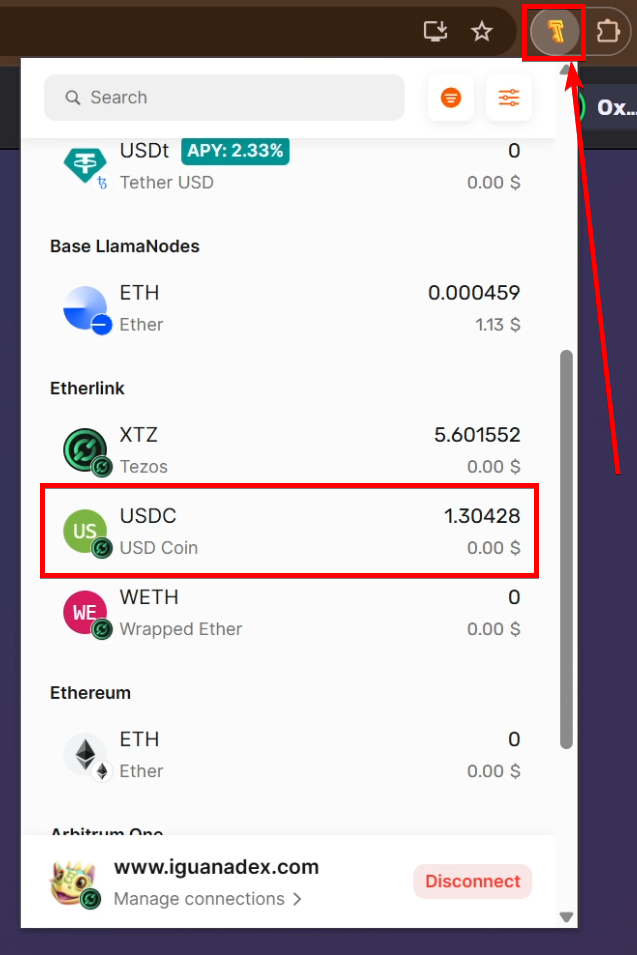
15. Check your tokens in the Temple Wallet
Click on the Temple Wallet icon to open the wallet, and scroll down to see your swapped and added tokens.
For our example, we have successfully received our 1.30366 USDC on the Etherlink blockchain.
Conclusion
This guide has successfully walked you through the essential steps to swap tokens on IguanaDEX, a premier decentralized exchange, utilizing the power and versatility of Temple Wallet. As you've seen, the process is straightforward, from opening the IguanaDEX website and navigating to the swap interface, to connecting your multichain Temple Wallet. Temple Wallet's robust support for both Tezos and EVM blockchains (like Etherlink, as demonstrated) makes it an indispensable tool for interacting with a wide array of DeFi protocols.
The ability to easily select input and output tokens, such as XTZ and USDC or any other supported crypto assets, and adjust parameters like slippage tolerance, ensures a customized and controlled trading experience on IguanaDEX. Confirming the transaction within your Temple Wallet is the final secure step to executing your token swap efficiently. Furthermore, the guide highlighted the simple process of adding new tokens to your Temple Wallet, ensuring your newly acquired assets are immediately visible and manageable.
By leveraging the IguanaDEX platform in conjunction with the multichain capabilities of Temple Wallet, users gain access to deep liquidity and a user-friendly interface for all their token swapping needs. Whether you're diversifying your portfolio or simply acquiring new tokens, this combination provides a secure, efficient, and accessible gateway to the decentralized financial landscape. Mastering token swaps on IguanaDEX with your Temple Wallet empowers you to fully participate in the dynamic world of cryptocurrency trading across multiple blockchain ecosystems.